
BakeRecipes
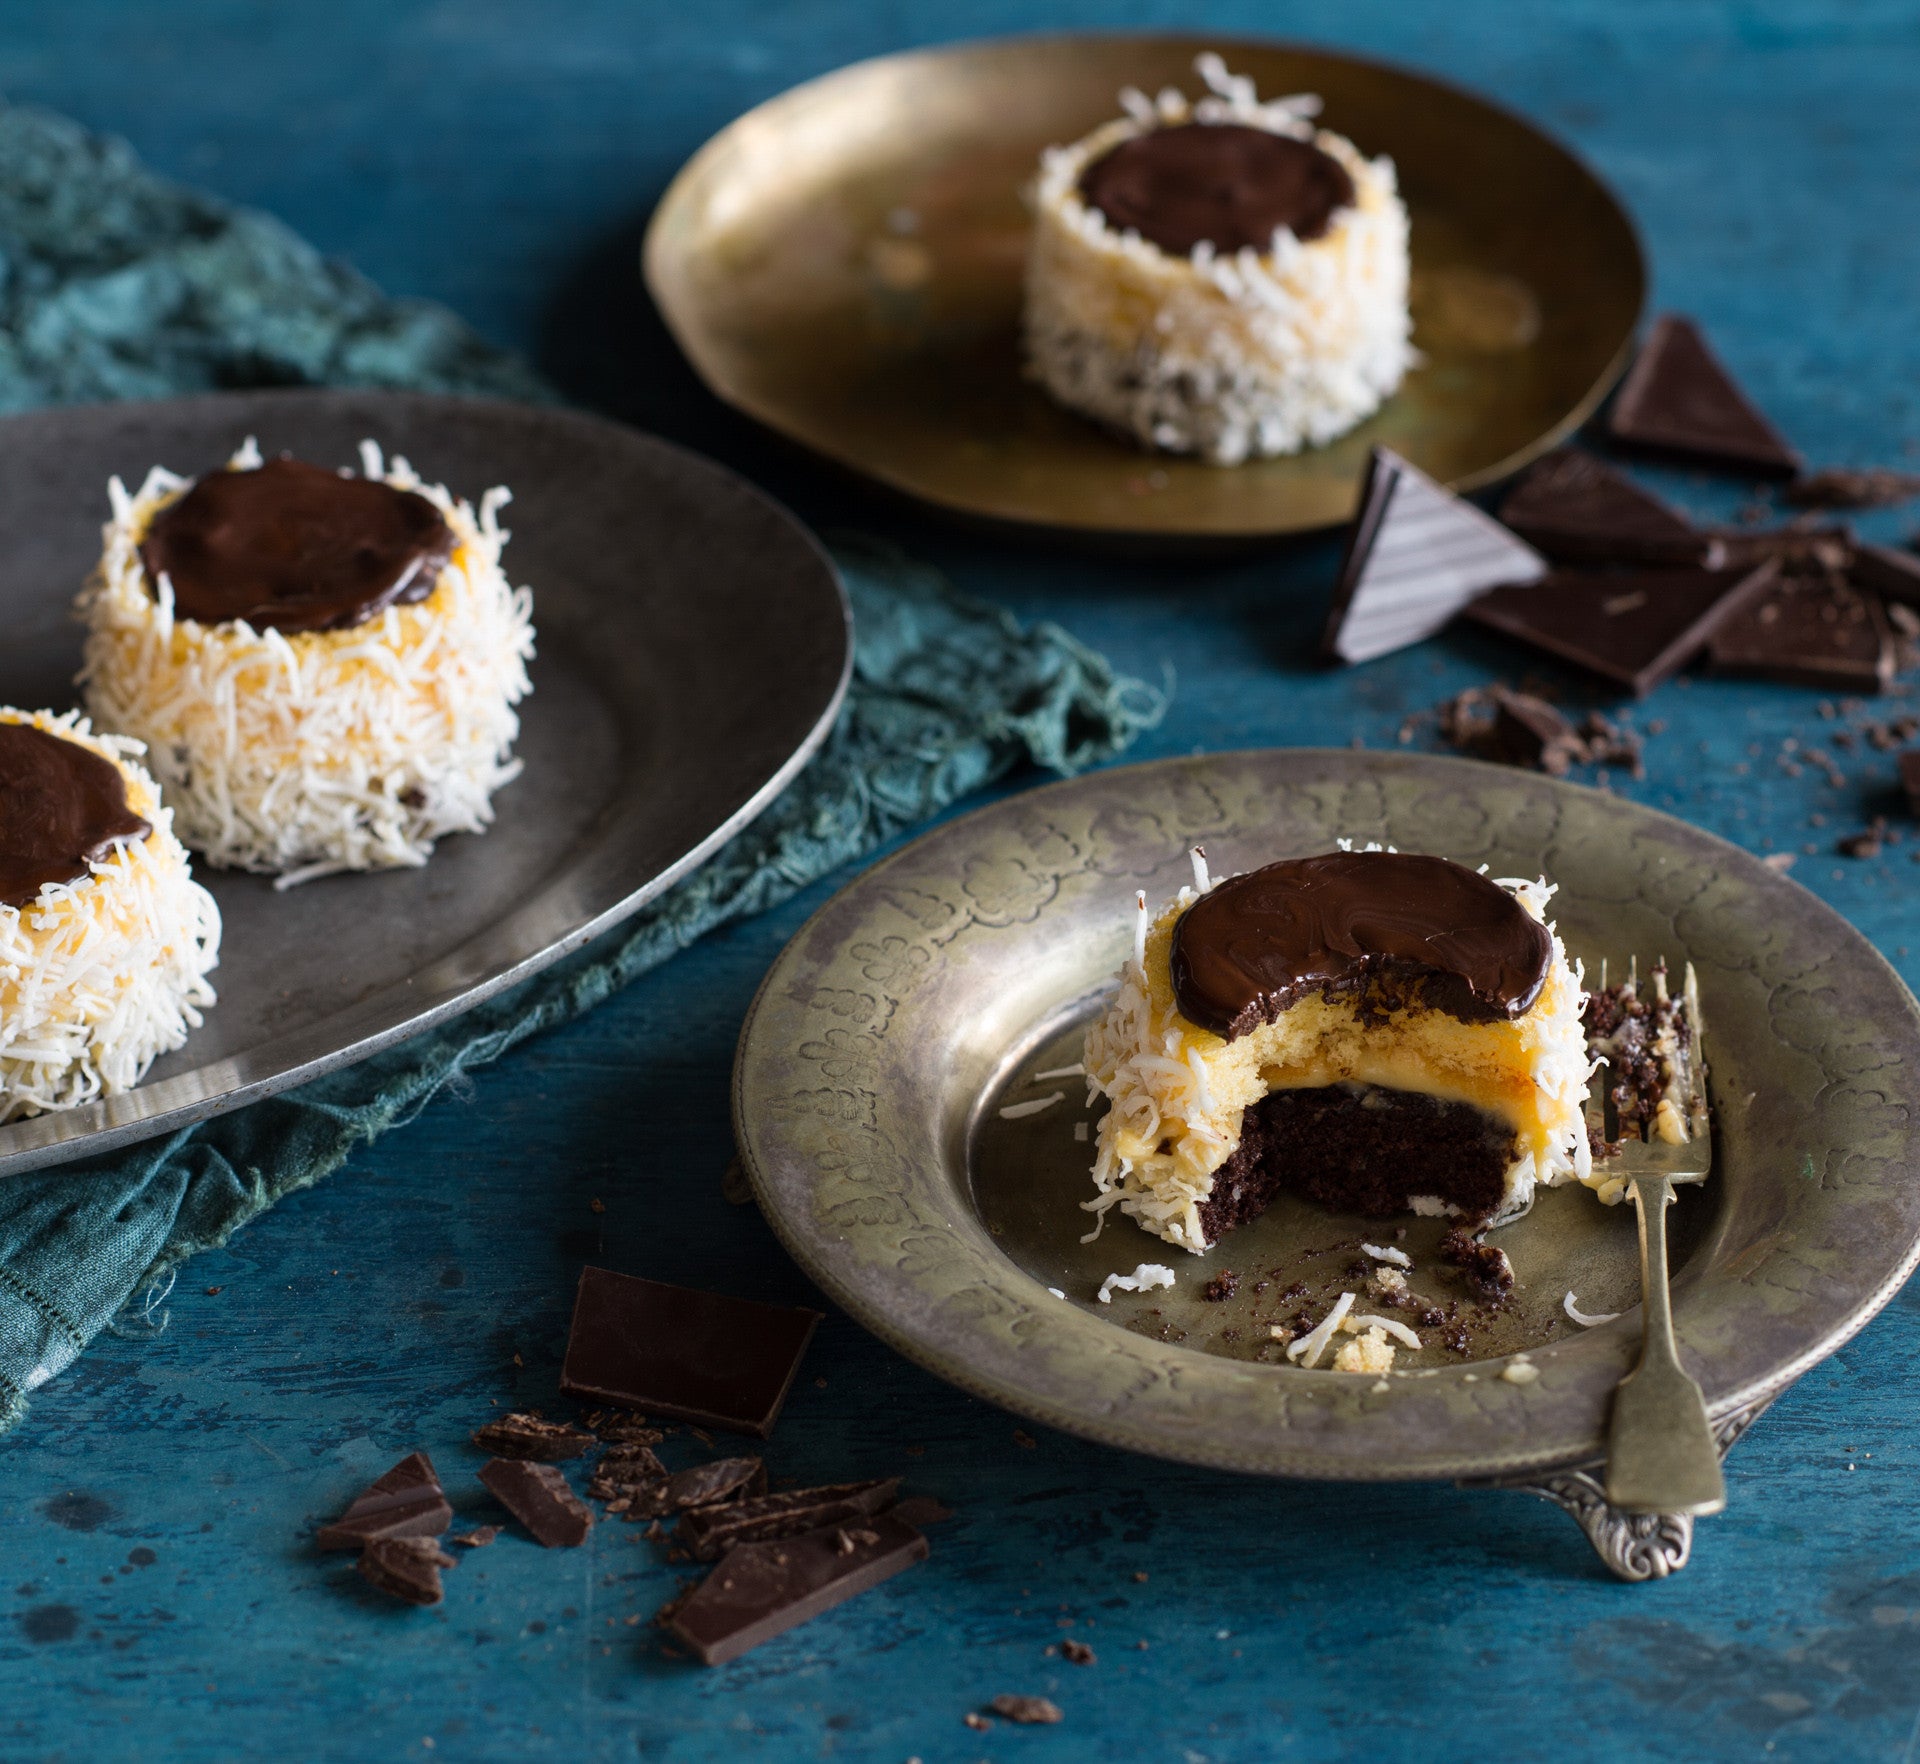
Russians' Hats (Ruske Kape)
Prep 40min (+20min cooling and 2.5hr chilling)Bake 15minMakes 6 serves
These little layered cakes are the sweetest hats you'll find. Made up of custard cream and a chocolate topping they are covered in shredded coconut for a little texture but you can also use nuts as well, if you have them handy. They are best served chilled and if you aren't much for a dessert fork, then eating these with your hands like a cupcake is absolutely acceptable!
Ingredients
- 100g (1½ cups) shredded coconut, to coat
Sponge Layers
- melted butter, to grease
- 4 eggs, at room temperature
- 165g (¾ cup) caster sugar
- 2 tablespoons boiling water
- 2 tablespoons vegetable oil
- 100g (⅔ cup) self-raising flour, sifted
- 2 tablespoons cocoa powder mixed to a paste with 60 ml (¼ cup) boiling water and cooled
Custard cream
- 1 tablespoon cornflour
- 1 tablespoon custard powder
- 2 tablespoons caster sugar
- 200ml milk
- 20g butter, cubed
- 1 egg yolk
- 1½ teaspoons natural vanilla essence or extract
Chocolate glaze
- 50g dark chocolate, chopped
- 2 teaspoons vegetable oil
Method
- To make the custard cream, sift together the cornflour and custard powder into a small saucepan. Add the sugar and then use a balloon whisk to gradually stir in the milk. Place the saucepan over a medium heat and cook, stirring frequently, until the mixture boils and thickens. Remove from the heat and stir in the butter, egg yolk and vanilla until well combined. Pour into a medium bowl, cover the surface of the custard directly with a piece of plastic wrap and set aside to cool (this will take about 2 hours).
- To make the sponge layers, preheat oven to 180°C (160°C fan-forced). Brush two 16 x 26 cm shallow cake tins with a little melted butter to lightly grease and then line the base and two long sides of each with one piece of non-stick baking paper.
- Use an electric mixer with a whisk attachment on high speed to whisk the eggs and sugar in a large bowl until the mixture is very thick and pale (this will take 5-8 minutes). Lift the whisk out of the mixture and draw a figure eight, if the trail stays on the surface long enough for you to finish drawing then the mixture is ready. If not, continue to whisk for a further minutes and then test again.
- Combine the boiling water and oil. Sift the flour over the egg mixture. Immediately pour the warm water and oil mixture down the side of the bowl and use a spatula to fold until just evenly combined (be careful not to overmix).
- Pour half of the mixture into one of the prepared cake tins. Add the cocoa paste to the mixture still in the bowl and fold together until just combined. Pour into the second cake tin. Gently tap the tins on the bench top three times to settle the mixture. Bake in preheated oven for 12-15 minutes or until the cakes spring back when lightly touched in the centre and start pulling away from the sides of the tins. Stand the cakes in the tins for 2 minutes before turning onto a wire racks to cool completely.
- To assemble, use a 6 cm round cutter to cut each of the Sponge cakes into 6 rounds. Place the round cutter over a chocolate sponge. Top the chocolate sponge round with about 1 tbsp of the Custard cream and then cover with around of plain sponge. Remove the pastry cutter. Repeat with the remaining chocolate and plain sponge rounds and 1 tbsp of Custard cream for each cake to make 6 layered cakes in total. Spread the sides of the cakes with the remaining Custard cream. Roll the sides of the cakes in the coconut to coat and place on a serving plate. Place in the fridge while making the Chocolate glaze.
- Place the chocolate and oil in a heatproof bowl. Place over a saucepan of simmering water, stirring occasionally, until melted and smooth. Carefully spread about 1 tsp of the Chocolate glaze over the tops of each of the cakes to cover. Return the cakes to the fridge for 30 minutes or until the Chocolate glaze is set. Serve chilled.
Baker's Tips
These cakes will keep in an airtight container in the fridge for up to 2 days.This recipe is from Anneka's SBS Food online column, Bakeproof: Bosnian Baking.
CLICK HERE for more Bakeproof recipes.
Photography by Alan Benson.


